
Create a Dashr account through our Dashboard then download the Dashr App from your app store to your Android (API 21 or newer) or iOS (version 10.0 or newer) compatible device (not included with the purchase of a Dashr system).
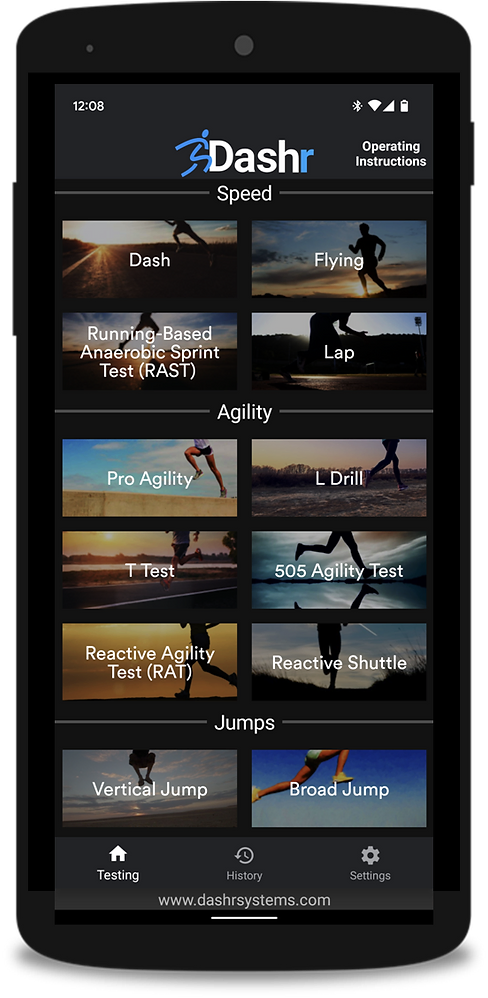
Once logged into the app, you will see tiles containing the classic timing drills that the system offers – Dash, Flying, RAST, Lap, Pro-Agility (5-10-5 shuttle), L-Drill (3-cone drill), T-Test, 505 Agility, Reactive Agility Test, Reactive Shuttle, Vertical Jump, Broad Jump. You can also measure Biometrics (height, weight, etc.), and you use the Barcode and RFID tiles to for athlete check-in. You will also notice a Device Registration tile, that is where you will register your Blue lasers to your phone/tablet.
Any timing gate can be used for a start, stop, or split for any timing drill on the app. You would likely just want to adjust what size tripod the gate uses, depending on the starting method. 3-point and block starts typically use the mini tripods so that the gate is just a few inches off the ground and the athlete’s hand is in the beam – static dash start. The regular sized tripods have extendable legs, and are typically set to around waist height – used for splits/stops on dash as well as flying starts and the Pro-Agility/L-Drill.
Check out our Set-Up page for detailed instructions/videos for each drill. Note that the first step is to register the laser(s) with the phone/tablet you are using. You assign the laser the number you want, then write that number on the laser (space provided) so you know which is which. There is a video of this within each drill detail on the Set-Up page.
Once your lasers are registered, these are the general steps for operation:
- Select your drill.
- Select the type of laser you are using (Blue).
- Connect your laser(s) by selecting the laser from the drop down, making sure the laser is on, and pressing the “Connect” button.
- Once all lasers (and other appropriate devices) are connected, press the “Start Testing” button.
Now you are ready to get some times!!