The Dashr|Display is used to present test results as they happen. It can also be used as a running stopwatch or an interval timer. We will continue to evolve the capabilities of this product through app updates!
Step-by-step instructions:
- Use the power cable provided to power on the display with either the provided battery, or a USB outlet plug (not provided).
- Install/open the Dashr app on your phone or tablet. (Create an account here if you have not already)
- Register the Display in the app – Navigate to the “Device Registration” button at the bottom, power on the Display and select it from the “Available” list and assign it a number. Write that number on your Display (sticker on the bottom of it). (This only has to be done the first time you use the display with this phone/tablet)
- Place the Display where you would like it. Set it on the ground or a shelf, set it up on the mini tripod provided, or use the wall hanging holes on the back to mount it on a wall.
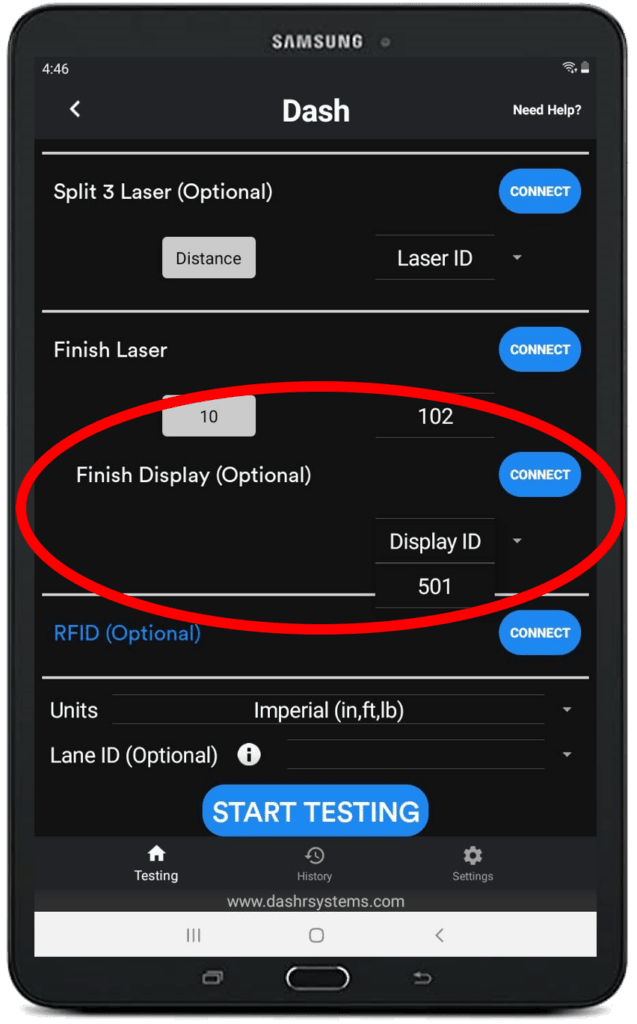
- Open up the drill of your choosing and after connecting the other Dashr hardware (lasers, Jump, React, etc.) also locate and connect your Display.
- Once all devices are connected, press start testing like have always done.
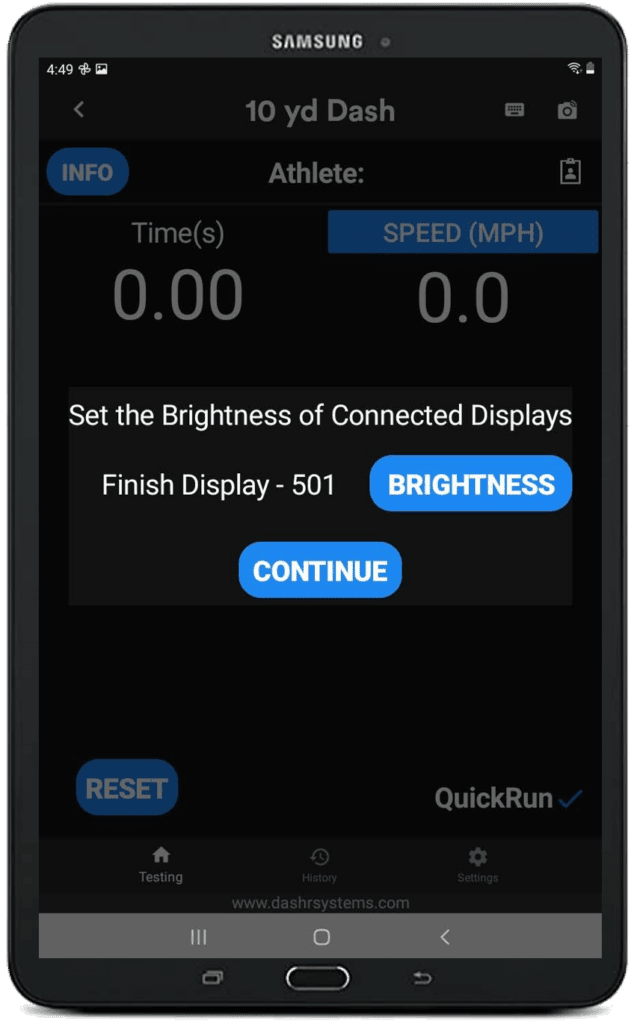
- You will now be prompted with a button that says “Brightness” where you can toggle the brightness of the numbers on the display. Once set to how you want it, press continue and run the drill like you normally would. The final results will now show up on the Display!