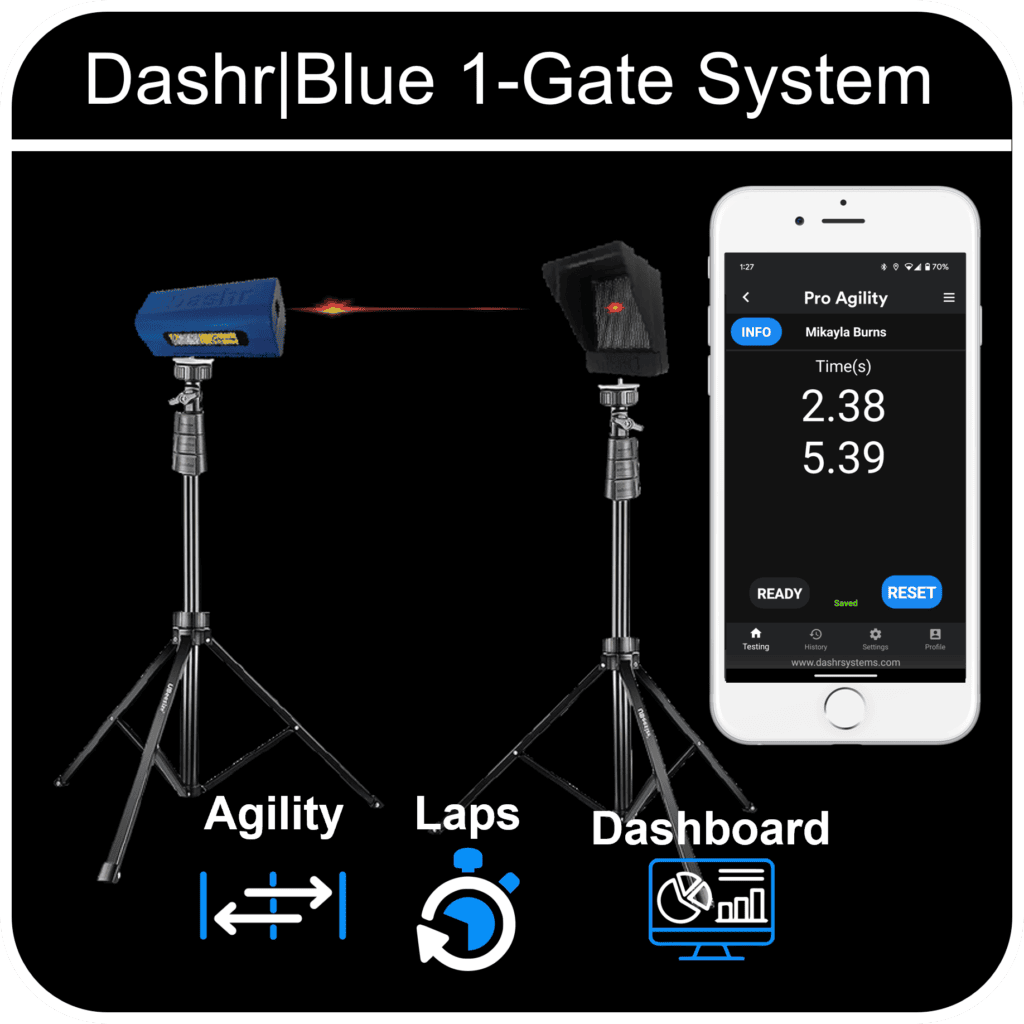
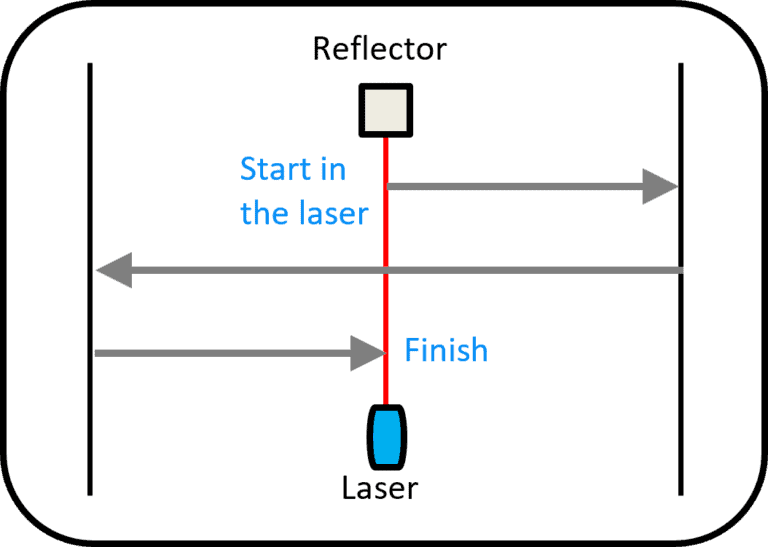
Experience the Pro-Agility drill adapted for the ice, where players test their swift transition from defense to offense. Starting from a standstill at the blue line, players sprint forward to the red line, execute a rapid stop, and then swiftly turn back. The challenge continues as they pivot again before dashing back to the blue line. This exercise, commonly utilized in tryouts and training camps, assesses a player’s speed, agility, and ability to change direction with precision and speed.
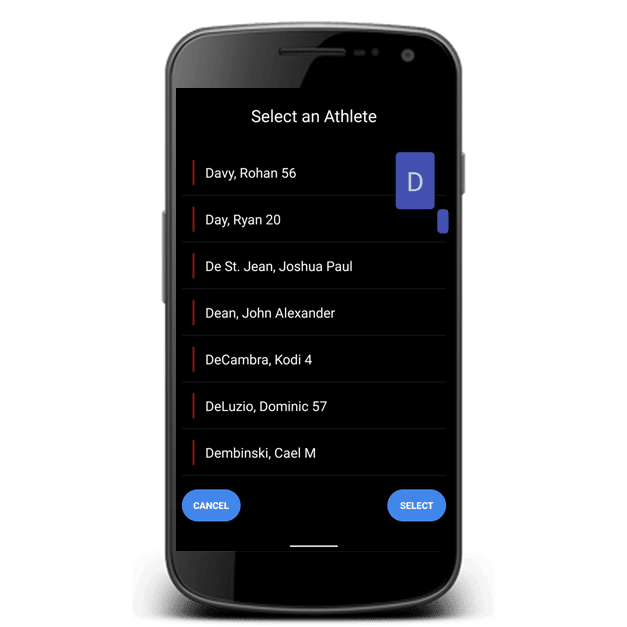
You don’t have to be tech-savvy to harness the power of Dashr. If you can use a stopwatch, you can use our system. Even better, when you use the Dashr App, you can set it and forget it so you can focus on your athletes, not the clipboard.