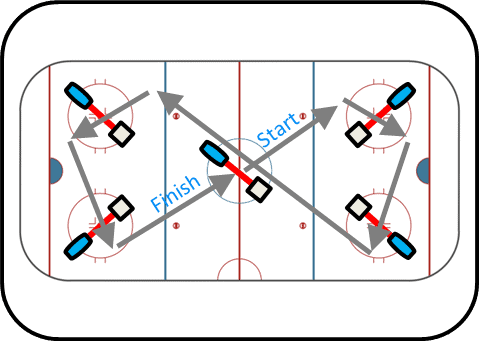
This drill uses 2 Dashr|Blue Timing gates. You likely already have your devices registered, if not – please check out the Flying Drill as it is the same process.
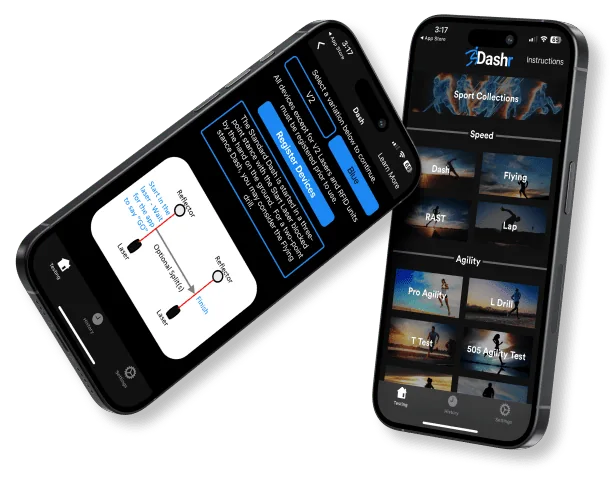
Step-By-Step Instructions
- You will use a 2-point start for this drill, so we recomment using the Flying dril or the Red-Blue Sprint under Sport Collections > Hockey > Red-Blue Sprint. You can use either drill for this test – but they will be saved differently on the Dashboard. As either a fly or a Red-Blue Sprint.
- To set-up this drill you will have a starting gate on regular tripods extended to about waist height on the Red Line.
- Set-up the finish laser at waist height at the opposite Blue Line.
- Power on all lasers, and connect them one at a time.
- Once all devices are connected, press “Start Testing”.
Running The Drill
- Check in the appropriate athlete (details here) – optional.
- With QuickRun on, when the athlete moves through the starting gate -timing will start (time will turn blue – indicating that timing is taking place), and you get a result when you cross the next gate.
- With QuickRun off (option in settings) you will see “Set” and “Reset” buttons to give you control of when a test starts. Press “Set” once the athlete is ready to take off. Press “Reset” to clear the time for the next athlete.