Vertical Jump / Max Vertical

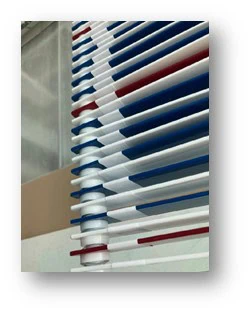
Dashr enhances the classic vertical jump test, a century-old measure of lower body power. With Dashr|Jump hardware, integrate intelligence into your existing Vertec or vane-based system. Capture and analyze jump data effortlessly, either through smart technology integration or manual input on the Dashr App.

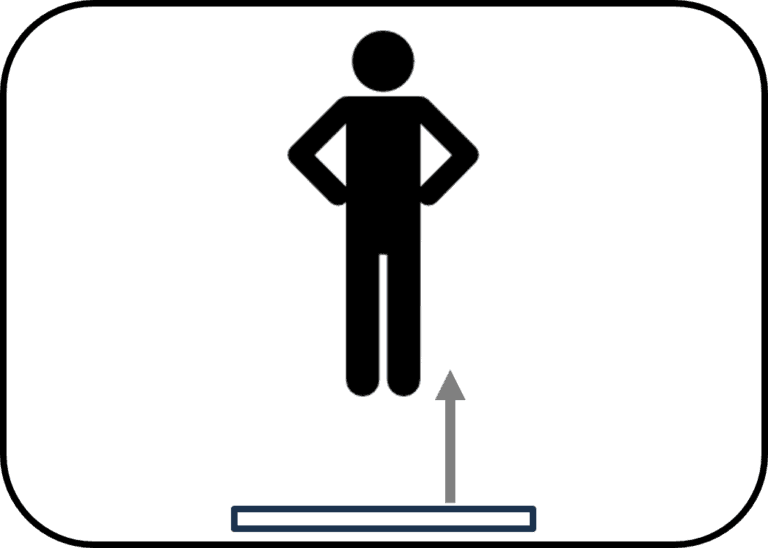
A diagram of the vertical jump drill.

Drill Instructions

The vertical jump test is a test of lower body power and has been performed for over 100 years. When using Dashr|Jump hardware for this test you will need a Vertec or similar vane based system, and we will make it smart! You can also manually enter jump measurements into the Dashr app.

Installation Instructions

Step-By-Step Instructions

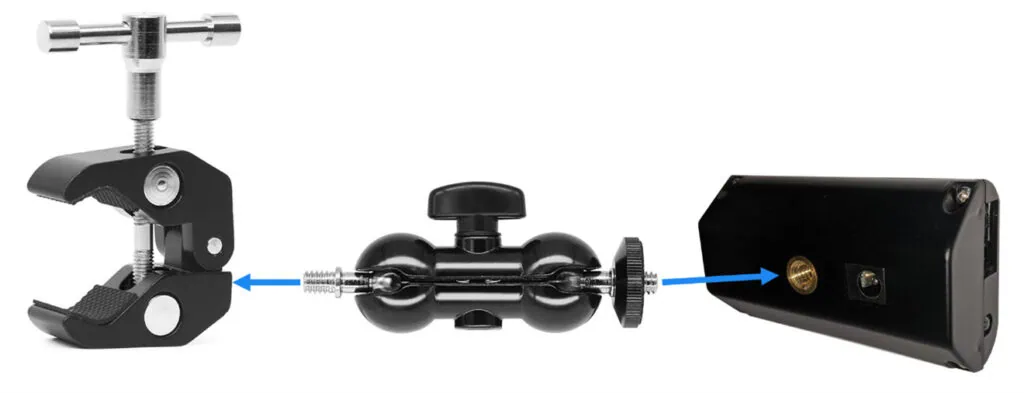
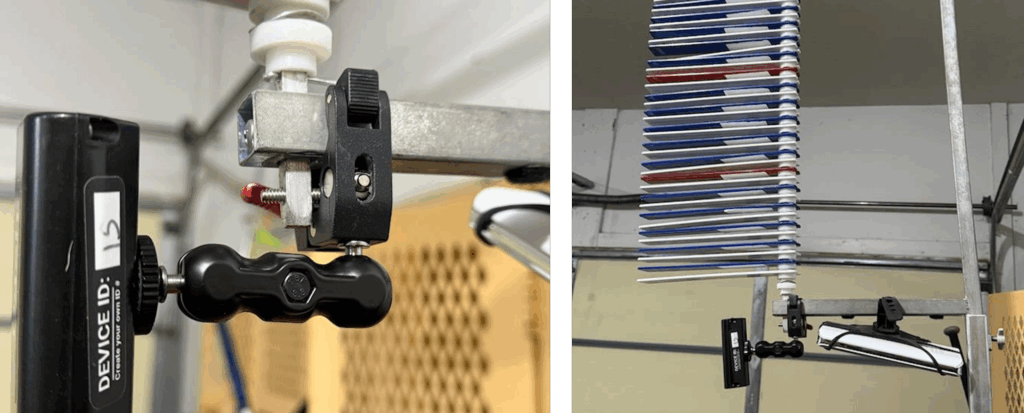
  • In the package you received there is a Jump module, USB battery, power cord, mounting bracket with ball joint, clipboard, white stickers, mini tripod + ball joint, and a user/installation manual. Follow the instructions for setting up the system – installing the jump device on your Vertec and applying the stickers. Note that your manual may not have updated device registration instructions for the new app – the instructions below cover these changes.
  • Install/open the Dashr app on your phone or tablet. (Create an account here if you have not already)
  • Register your jump in the app – Navigate to the “Device Registration” button at the bottom, power on the Jump device and select it from the “Available” list and assign it a number. Write that number on your device. (This only has to be done the first time you use the Jump device with this phone/tablet)
  • Return to the home menu and select Vertical Jump.
  • With the Jump module on, select the number you assigned it (in registration) from the drop-down menu and press the “Connect” button. If it does not work the first time, repeat.
  • Once all devices are connected, press the “Start Testing” button.
  • Use the align toggles (arrows) to make sure your device is shooting straight up at the vanes. Adjust the ball joint as necessary (loosen then tighten the knob on the side) if it needs to be realigned.
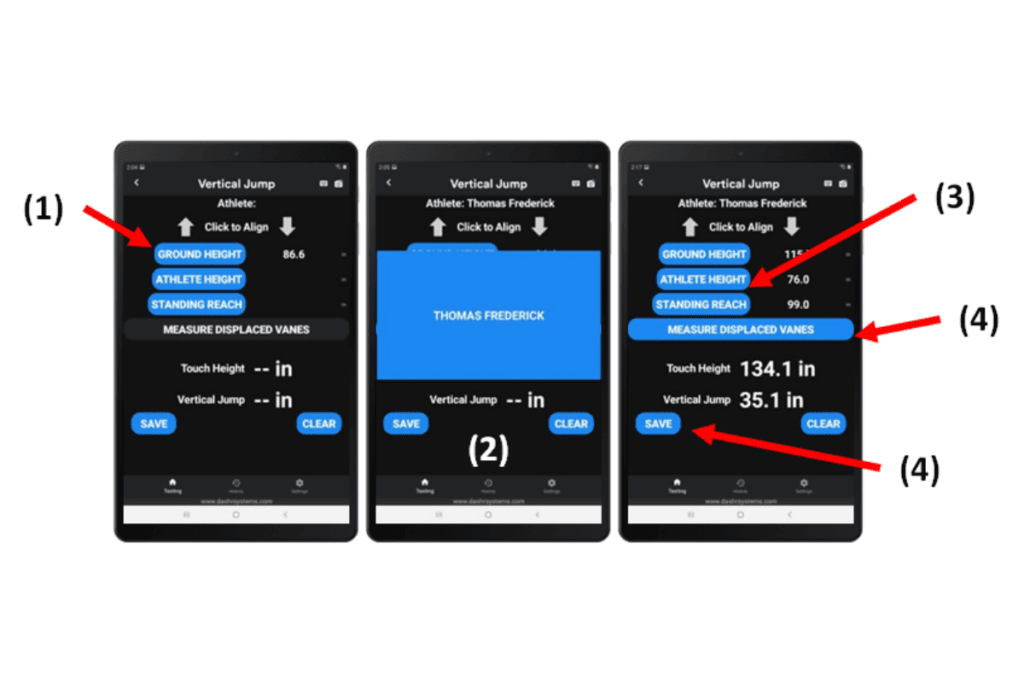
  • (1) Calibrate the device by placing the clipboard on the ground, under the laser (use the alignment toggle if necessary), and press “Ground Height”. This will measure the distance the device is from the ground.
  • (2) Check in the appropriate athlete (details here) – optional but STRONGLY suggested for this drill.
  • (3) If you already have saved height and reach data for the athlete you checked in, those measurements will appear on the screen. If you have not taken those measurements, instruct the athlete to stand under the Jump module and place the clipboard on his or her head – then press the “Athlete Height” button. Then have them reach as high as they can, reaching for the bottom of the Jump module, and place the clipboard on the tips of their fingers – press the “Standing Reach” button. Note that you many need a box or stool to reach the athlete’s fingertips.
  • (4) Have the athlete perform their vertical jump, hitting the highest vane they can. Once complete, clear all touched and surpassed vanes – then press “Measure Displaced Vanes”. You will get a vertical result and hit the “Save” button to save it.
  • Repeat Steps 2-4 for each athlete you test.
Vertical jump.